Meta Pixel code
Skip to main content
TSBC Licence # LGA0208853

Your Homeowner’s Guide to Finding and Fixing Plumbing Leaks

Plumbing leaks are every homeowner’s nightmare. They waste staggering amounts of water, increase your utility bills, and can cause devastating structural damage and mold growth if ignored.
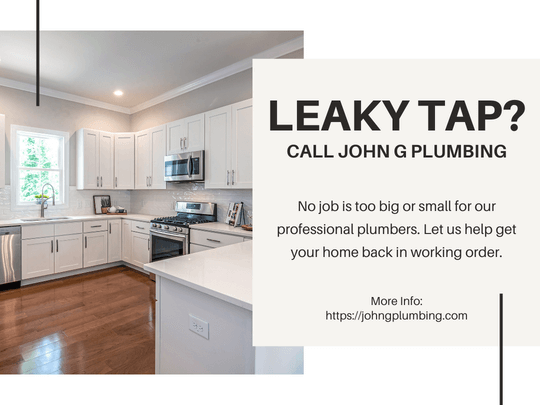
At John G. Plumbing Inc., we know that quick action is key. We’ve structured this guide to help you manage the emergency, identify common issues, and know exactly when it’s time to call our professional plumbers. When in doubt, give us a call at (250) 797-0858.

What’s in this guide?

  • What to do when a pipe unexpectedly bursts in your home.
  • How to fix a leaky faucet.
  • How to identify your faucet type.
  • Toilet won’t stop running? Common causes and quick fixes.

Pipe burst? Shut off the water first.

When you hear the terrifying sound of rushing water, panic is natural, but immediate action is critical. Stopping the flow of water is the single most important thing you can do to save your home.

What is the first step when a pipe is leaking?

Your absolute first priority is to turn off the water supply.

two types of water shutoffs, ball valve and gate valve
Water shut-offs are usually either a ball valve or a gate valve style

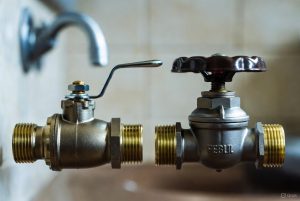
How to find your main water shut-off valve

  • Interior Location: In most homes, the main shut-off valve is located near the perimeter of the house where the main water line enters. Check your utility room, basement, or crawl space, often near the water heater. Do you have a hose outside? Look in the basement near where it is set up, the shut-off valve might be close by.
  • Exterior Location: If you can’t find a valve inside, look for the curb stop (the municipal shut-off) in a concrete or plastic box near your property line. You may need a specific tool (or a service call from a plumber) to turn this off.

What to do if a pipe bursts (Emergency steps)

  1. Turn Off the Water:
    Use the main valve immediately.
  2. Turn Off the Power:
    If the leak is near electrical wiring, switches, or appliances, turn off the electricity to that area at your main breaker panel. Safety is paramount.
  3. Minimize Damage:
    Open the nearest faucet to drain remaining water from the affected line. Start documenting the damage with photos or videos.

What is the danger of waiting to repair a leaking pipe? Even a small, slow leak can lead to wood rot, compromised structural integrity, black mold growth, and astronomical, unnecessary water bills. Do not delay professional contact.

Don’t want to take any chances? Call John G.

If you have a burst pipe or flooding, call John G. Plumbing Inc. immediately. We provide swift, reliable service to prevent major damage across Nanaimo, Parksville, and the surrounding areas.

a sink filled with water
A leaky faucet can lead to a build-up of water and a consistent “tap tap tap” noise that doesn’t stop.

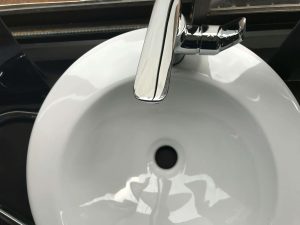
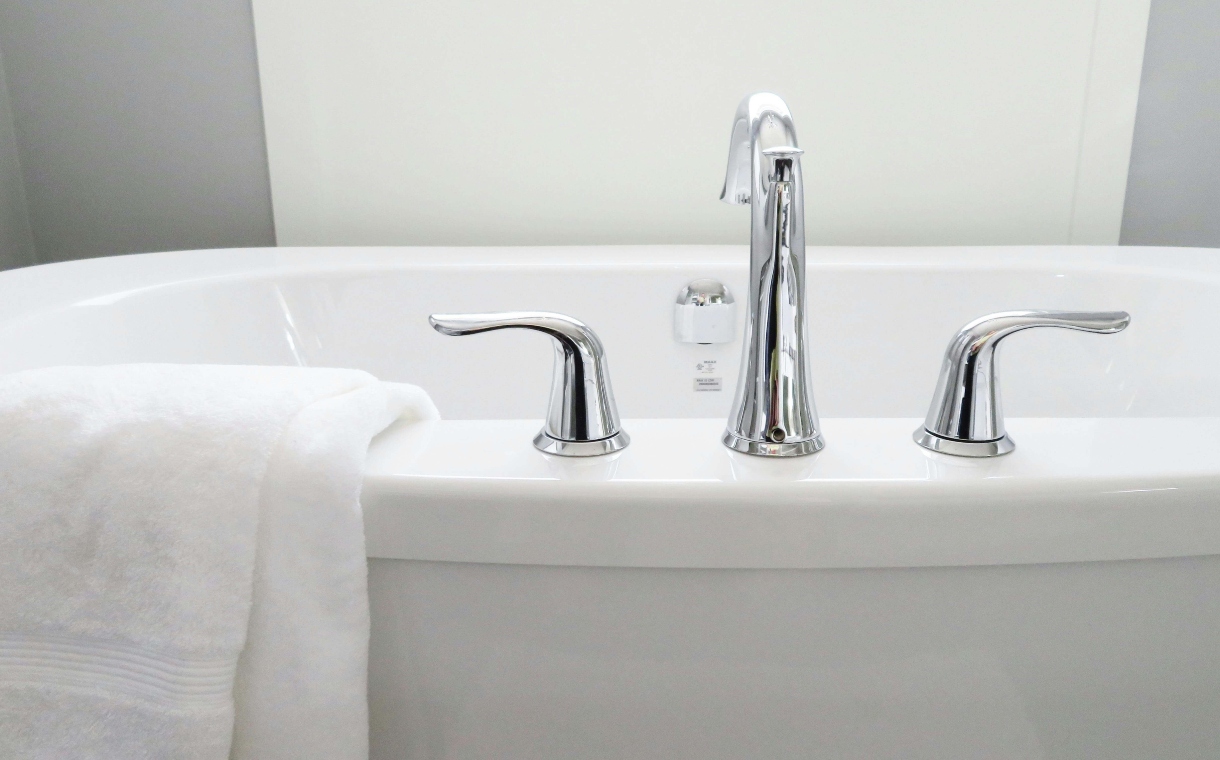
How to Fix a Leaky Faucet (Step-by-Step Guide)

A persistent drip can be more than just annoying; it can waste hundreds of gallons of water per year. The repair often comes down to the type of faucet you have.

How to identify my faucet type

Wondering what kind of faucet you have? Faucets are categorized by their inner mechanism, which dictates the repair part you need. So, how it is built will determine how it will get fixed.

faucet types
Faucet types starting from the upper left, going clockwise: compression, cartridge, ceramic disc, and ball.

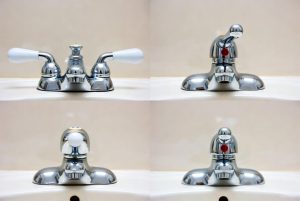
Faucet Type Identification Guide

Faucet Type

How to Identify It Easily

The Problem Part (What Needs Fixing)

Compression (Older Style) Two Separate Handles (one for hot, one for cold). You must tighten the handle to stop the water, like turning off a garden hose. Washers (Small rubber rings inside the handles wear out).
Cartridge (Common Modern) Single Handle that moves up/down* for water volume and left/right for temperature. Water stops when you move the handle to the OFF position. Cartridge (A cylinder with movable ports that controls water flow).
Ball (Distinct Design) Single Handle with a round, ball-shaped cap over the joint. It moves and rotates around the spout. (Usually a difficult, older single-handle design). Ball Joint Assembly (Multiple small seals and springs inside the mechanism).
Ceramic Disc (Newer High-End) Single wide, flat handle that moves over a wide arc. They are very reliable and typically have a wide, circular base on the spout. Ceramic Disks (Two polished ceramic plates that control water flow).

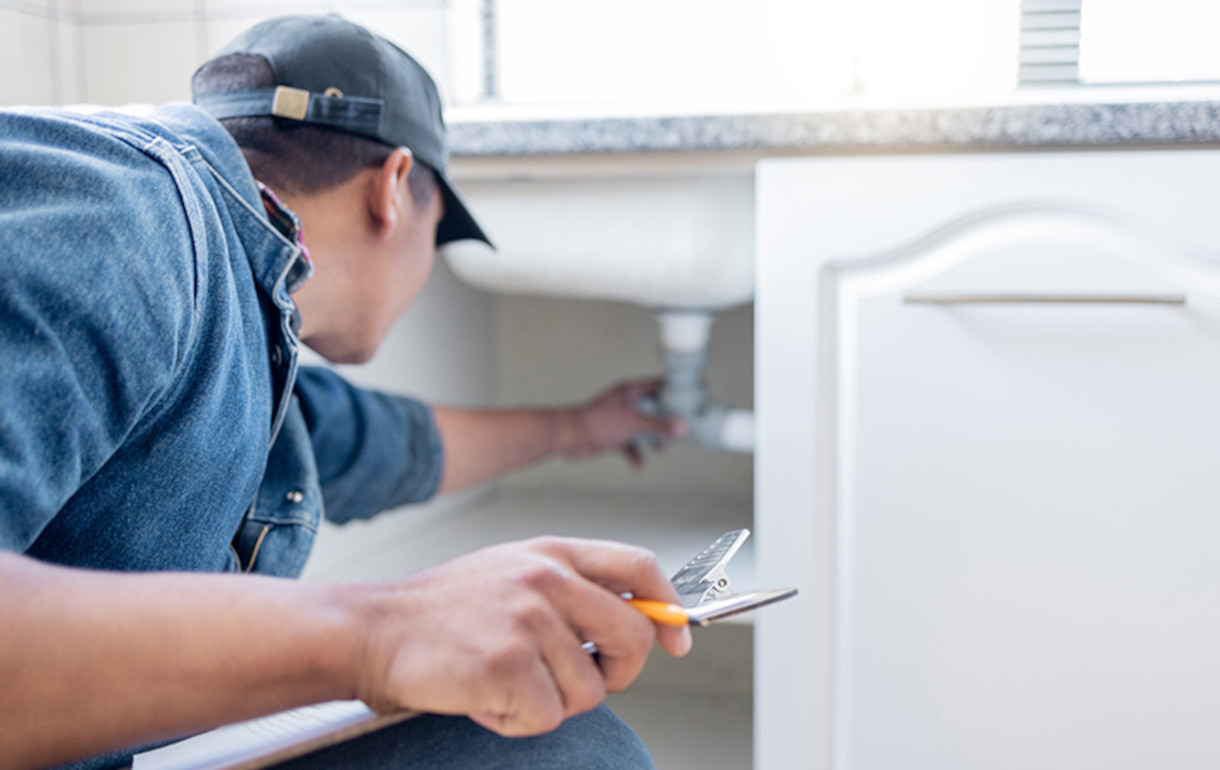
Troubleshooting a leaky faucet handle or spout

First, turn off the water supply under the sink. Disassemble the handle and spout to access the core mechanism. For compression faucets, you likely need a new washer. For cartridge or disk faucets, you will need a matching replacement cartridge.

When is it better to replace the whole faucet instead of repairing it?

If your faucet is old, showing heavy corrosion, or if replacement parts are unavailable or difficult to source, a full replacement is more cost-effective. Sometimes, you just want to update the look!

Schedule a Faucet Installation Estimate with your local plumber in Qualicum Beach or Parksville. Our team can quickly diagnose if a repair is feasible or if you need an upgraded, high-efficiency fixture installed. Call John G. Plumbing Inc at (250) 797-0858. We answer the phone and give an estimate right away for the price and the soonest availability.

a bathroom in a cabin
Toilets can act up at any time, any day. Be prepared.

How to Silence a Running Toilet and Stop Hidden Leaks

A running toilet is the most common and expensive hidden leak in a home. The sound of water constantly refilling the tank is a signal that money is literally going down the drain. And hey, if you have kids, they’ve likely flushed a toy once or twice. So, let’s help you solve this mystery of the day.

How to check and adjust the flapper or fill valve

The two main culprits in a running toilet are the flapper (the rubber plug) and the fill valve (the mechanism that refills the tank).

1. Check the Flapper (The Rubber Plug)

The flapper’s job is to create a perfect seal to hold water in the tank until you flush. Take the lid off the back of the toilet. The water inside the tank may look perfectly clean, but it can sometimes look discolored or have build-up depending on your home’s water quality. It’s ok to touch!

Once inside, you’ll see a structure connected to a chain, which then connects to a little seal on the bottom.

  • Look for Slack: Check the small chain connecting the flush handle to the flapper. It needs a little bit of slack. If the chain is too short and tight, it keeps the flapper slightly pulled up, meaning water constantly leaks into the bowl.
  • Inspect the Seal: Gently lift the tank lid and check the rubber flapper itself. If it looks slimy, warped, or if the rubber is brittle or cracked, it won’t seal properly. This is the most common fix and requires a simple flapper replacement.

2. Check the Fill Valve (The Water Level)

The fill valve (or ballcock) is the main control mechanism inside the toilet tank that manages the water supply. Its primary job is twofold: first, it opens to refill the tank immediately after a flush using water from your home’s supply line. Second, and most critically, it uses an attached float (a cup or arm) to monitor the rising water level and automatically shut off the flow when the water reaches the optimal fill line, which prevents the toilet from continuously running and wasting water.

Fill valve troubleshooting:

  • Check the Water Height: The water level should be about one inch below the top of the overflow tube (the thin pipe in the center).
  • Adjust the Float: If the water is too high, it constantly spills down the overflow tube, making the toilet “run.” Locate the float (a cup or arm) and adjust its setting so the fill valve shuts off the water before it reaches that overflow line.

Why does my toilet keep running after replacing the parts?

If you’ve replaced the flapper and fill valve and the toilet still runs, the issue may be more complex. This could indicate a warped or damaged flush valve seat or an issue with the siphon jet. At this point, it’s time for a professional plumber inspection.

How much money can a running toilet cost per month?

A continuously running toilet can waste over 200 gallons of water per day, potentially adding hundreds of dollars to your annual water bill!

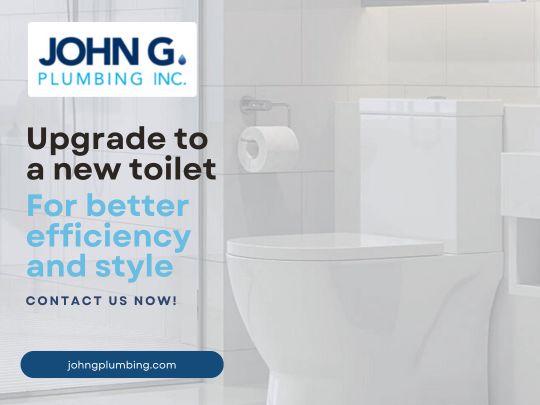
Need a New Flapper or Fill Valve Installed? Don’t know, don’t care, just want it fixed?

Don’t let a small issue become a big bill. John G. Plumbing Inc. offers fast, reliable service for all toilet repairs. Get your toilet fixed right away, Call John G. Plumbing Inc at (250) 797-0858.

How to Fix a Toilet That Won’t Flush

There’s nothing worse than pressing the flush handle and… nothing happens.

If your toilet won’t flush, don’t panic—you’re not alone, and it’s often something you can sort out with a little know-how. Whether your toilet’s not flushing well, not flushing completely, or just plain won’t flush at all, we’ve got your back.

At John G. Plumbing, we help folks tackle these issues every day. Here’s a step-by-step guide on what to do when your toilet won’t flush, plus some tips on when to call in the pros. Let’s dive in!

Check for a Clog

First things first: is something blocking the way?

A clog is the most common reason a toilet won’t flush. Grab a plunger—not the fancy one from the infomercial, just the trusty old kind—and give it a few firm pumps. If the water starts moving, you’re golden. If not, it might be a stubborn clog deeper down.

Parksville homes with kids or lots of guests (hello, summer BBQs!) can see this a lot—think toys, wipes, or too much TP. Still stuck? Save time, give John G. Plumbing a quick ring.

Leaky tap? advertisement

Inspect the Flapper

Pop the lid off your toilet tank and take a peek at the flapper—that little rubber piece at the bottom. If it’s worn out, warped, or not sealing right, water won’t build up enough to flush properly, leaving you with a toilet not flushing completely.

Give it a gentle wiggle. Does it feel floppy or look cracked? You can grab a new one at any hardware store for cheap and swap it out. It’s an easy fix that might just solve your how to repair toilet flush woes.

Address the Fill Valve

While you’re in the tank, check the fill valve—that tall thing with a float. If it’s not letting enough water in, your flush will be weak, and you’ll wonder how to fix a toilet that won’t flush.

Turn the adjustment screw (usually on top) a bit to let more water fill the tank, or make sure the float isn’t stuck. If it’s old and crusty (thanks, hard water!), it might need replacing. Not sure? We’ve seen plenty of these in Parksville & Qualicum—we’re here to help.

Clear the Rim Jets

Ever notice those tiny holes under the toilet rim? Those are the rim jets, and if they’re gunked up with mineral buildup or grime, your toilet’s not flushing well.

Grab some vinegar and a small brush (an old toothbrush works great) and give them a scrub. Pour a cup of vinegar in the tank, let it sit for an hour, then flush. It’s a simple trick that can get things flowing again—no fancy tools needed.

Check the Flush Handle and Chain

If your flush handle feels loose or floppy, it might not be lifting the chain (or rod) enough to start the flush.

Peek inside the tank: is the chain tangled, too slack, or even broken? Adjust it so there’s just a little slack when the flapper’s down. A quick tweak here can often fix a toilet not flushing without much fuss. DIYers, this one’s for you—it’s like tightening a loose shoelace!

new toilet upgrade

Is the Water Shut-Off Valve Open?

This one’s a head-slapper: check the water shut-off valve behind the toilet. If it’s turned off (or only partly open), no water’s getting in, and your toilet won’t flush.

Give it a gentle turn counterclockwise to open it fully—sometimes it gets bumped during cleaning or renos. Happens more than you’d think, even in tidy Qualicum Beach homes!

Why Won’t My Toilet Flush? Common Causes

Beyond the basics, here’s what we see a lot around Vancouver Island:

  • Hard Water Buildup: Minerals clog jets and valves over time.
  • Tree Roots: They sneak into sewer lines, especially in older neighborhoods
  • Old Parts: Tanks from the ‘80s or ‘90s might just be tired.

Knowing the “why” can help you fix it—or at least know when to call us. Got a hunch about your toilet not flushing well? We can check it out.

Quick Tips to Prevent Flush Fails

Want to avoid this headache next time? Try these:

  • Only flush the essentials (no “flushable” wipes—they’re sneaky troublemakers).
  • Pour a bucket of water in the bowl if it’s slow—sometimes it just needs a boost.
  • Keep an eye on that tank; a little maintenance goes a long way.

Staying on top of wear and tear can save you headaches—your toilet will thank you!

John G. Plumbing bathroom plumbing services

Call a Plumber, Call John G.

Tried all the tricks and your toilet’s still not flushing? Don’t sweat it—sometimes you need a pro to step in.

At John G. Plumbing, we get calls like this all the time: “I’ve plunged, I’ve fiddled, and I’m out of ideas!

If it’s a sneaky clog, a worn-out part, or a sewer line hiccup, we’re here to help with it all.

We’re prompt and friendly, serving Parksville, Qualicum Beach, and now more folks in Nanaimo too.

Tree roots in your line or an old tank giving up? Happens a lot around here, and we know how to fix it right. Fill out the form below to get a no-fuss quote that fits your place—whether you’re in Parksville, Qualicum, or Nanaimo, it’s tailored just for you!

Revamp Your Space and Save: Plumbing Renovation Tips for Budget-Friendly Upgrades

Are you considering a change in perspective and wanting to revamp your home’s plumbing in the Nanaimo and Oceanside areas, including Coombs and Nanoose Bay? Our team of licensed gas fitters and plumbing experts at John G. Plumbing are here to guide you through your plumbing renovations.

Here are 6 tips on ways to save money on plumbing renovations throughout the renovation process .

Picture of a bathroom

1. Plan your Plumbing Renovation Ahead of Time

Our experts can help you create a comprehensive renovation plan tailored to your specific
needs and make sure everyone agrees on the plan before starting any work. Planned
renovations are often more affordable and achieve better results.

2. Design and Layout

A great design isn’t just about aesthetics—it’s about efficiency. Keeping your existing plumbing layout can save you significant money, but if changes are necessary, our professionals ensure the transitions are seamless and cost-effective. We help you create a layout that works for you while maximizing functionality and style.
Picture of a kitchen

3. Costly? Know if you are covered

If the upfront costs of plumbing renovations seem daunting, John G. Plumbing offers financing options to help make your upgrade more affordable. With low payments tailored to your needs, in our partnership with Financeit, you can have peace of mind while not breaking the bank. Interested? Ask about our financing solutions and your upcoming plumbing job. (250) 797-0858

4. Hire a Professional

Do-it-yourself (DIY) may sound like you can save and keep some extra cash in your pocket, however, with complex projects, it is best to hire a licensed and experienced plumber like John G. Plumbing.

You can prepare the space for the experts to step in by removing drywalls and ensuring proper lighting in the room. A professional plumber can help properly do plumbing installations and make sure to avoid any repairs that could cost you in the long run. Plus, you’ll know everything is up to code and safe for your family.

5. Plumbing Installations– Prioritize Energy Efficiency

Incorporating energy-efficient solutions into your plumbing renovation is key. By upgrading to energy-efficient appliances and fixtures, you can significantly cut down on water and energy consumption, lowering your bills in the long run.

A tankless water heater, such as models from Rinnai or Navien, is an energy-efficient and space-saving solution for many households. Since it heats water only when needed, you’ll never run out of hot water, and you’ll avoid the energy waste of traditional tank heaters.

6. Choose the Right Features and Fixtures

Selecting durable, high-quality fixtures is a smart investment. At John G. Plumbing, we help you choose materials and designs that combine function and style. From elegant faucets to energy-saving fixtures, our team ensures your renovation is built to last while enhancing your home’s aesthetic appeal.

Picture of a kitchen

Exceptional Plumbing Renovations You Can Trust

When it comes to your plumbing renovation, you deserve nothing but the best. Our team is dedicated to providing exceptional service throughout Nanaimo, Coombs, Parksville, and beyond. You can trust that your plumbing system is in the hands of professionals who prioritize quality, efficiency, and reliability.

Contact John G. Plumbing today, and get started on your plumbing renovation without delay!